Showing posts with label tips. Show all posts

Tuesday, January 12, 2016

10 Makeup Picture Day/ Passport Photo Tips


Hey Guys,

In today Tuesdays Beauty Tip I spoke about my top 10 tips on how to achieve a flawless face 
for photos or flash photography. 

Always keep in mind that the camera takes away 20% of colour from your face
So don't be afraid to add a little extra bronzer or blush. 
If in doubt take a picture on your phone first to see what you will look like on camera. 

Check Out the full video here: 


Hope you enjoy!  
Love

Tuesday, March 10, 2015

Benefit Cosmetics Brand Focus Tutorial & GIVEAWAY


Hey Guys, 

Hope your enjoying the new layout. 
So for today's post I just wanted to share my latest makeup tutorial and giveaway. 
If you watch my videos, you may have already seen this but I'm so excited to mention I teamed up with Benefit to Giveaway over 150 euros worth of the best selling Benefit Products over on my Instagram "Makeupbysaz1" 
All you need to do is Follow me and Benefit, Regram the Picture and Tag 4 friends
Simples..... Pop over to my Instagram to Enter!!! 


To Celebrate to Giveaway I decided to do a Makeup Look using ALL BENEFIT PRODUCTS
I went for a neutral eye with a pop of colour on the lips.


For this look I used: 

Stay don't stray eye primer
Gold eyeshadow: guilty pleasure
White matte eyeshadow: milk it
Matte brown from big beautiful eyes palette
Push up liner
Roller lash
Waterproof Bad Gal black liner
Porefessional
Hello flawless Liquid Foundation "I'm pure for sure"
Hello flawless "honey" powder
Erase paste 1
Rockateur blush
Hoola bronzer
Browzings dark
Watts up highlighter
Lolly tint and clear lipgloss

Be sure to check out the video linked under the picture for a step by step tutorial. 
Have a nice day, 
Love Saz xXx 

Tuesday, February 24, 2015

Rodial Review


Hey Guys,

Aw man It's so good to be back blogging again!!!!!  It was June 2014 since my last post which is just crazy right?! I think I mainly lost interest due to lack of time, I always saw my channel and my blog as two separate things rather than just treating it as one and felt I was stuck for time trying to get both done, So one of my new years resolutions was to give my blog a little makeover and get back into blogging regularly. I don't do many reviews on my channel so It might be a good idea to start doing my reviews here and also my old school outfit of the day posts....Gosh I missed those days. It may take me a while to get back into a regular blogging schedule but I'm feeling very positive about everything.

So First things first, A few weeks ago  I was lucky enough to receive a few products to try out from Rodial Cosmetics. I never heard of the brand before so I was a little skeptical but as soon as I checked out the website and online reviews, I was very eager to receive my package.


I got the Glamolash XXL mascara which I must say is so amazing for thickness,
the only thing I didn't like about the mascara was the size of the brush, If you have small eyes you might want to choose one of their other mascara's as the brush is quite wide so It can be tricky to get right into the root of the lash without poking yourself in the eye ha! But otherwise I really liked the packaging, the texture is really lightweight and the formula doesn't clump the lashes. My lashes looked so dark and thick compared to other mascaras.  


 I was most excited to try this Glamstick called Revenage. I choose the colour myself as I'm a big lover of pinks and peachy shades. The formula is buttery but lightweight, leaves your lips feeling nourished and doesn't dry up as it's enriched in vitamin E and cocoa butter.
The colour pay off was good, a little translucent as it's a balm but quite long lasting. I totally fell in LOVE with the packaging like WOW!!!! I think it's by far my favourite brand packaging yet.
                                                           Click me for direct link


OH MAMA!!!!! This was by far my favourite product of the bunch. It's the Eye sculpt cream shadow in Brown and it's the most perfect cream shadow Ive ever tried. It's extremely lightweight feels like a moose, It gives AMAZING colour pay off so a little goes a long way. It said on the website it doesn't move once its on the skin and boy they weren't lying. The smokey eye pencil I received aswell (here) was so creamy and melted beautifully, so both combined create the perfect smokey eye and I'll leave the link to my Smokey eye Tutorial below.
                                                             Click me for Direct link!
                            

                                                                Watch my video here:

 And lastly and unfortunately my least favourite was the Stemcell Super-food day cream.
I really liked the lightweight texture of this moisturiser and it gives the skin a nice radiant glow, however I didn't feel it left my skin nourished, My skin felt quite tight after it and that may be because I don't have the full stemcell range.

The moisturiser wasn't in anyway bad however for the price, the ingredients weren't the best I've seen so I wouldn't be rushing out to buy another. But that's not to say that this product isn't good, I just felt It didn't work on my skin, Skincare is always tough to review because what works for me may not work for you and likewise.
                                                             Click me for direct link


 And that about wraps up this blog post. I really hope you enjoy this review. Even tho these products were sent to me, all opinions are 100% my own. Be sure to check out Rodial's Social Pages

RODIAL TWITTER: https://twitter.com/rodialskincare
RODIAL INSTAGRAM: http://instagram.com/rodialskincare

                                                           Have a nice day
                                                             Love Always
                                                                 Saz xXx


Sunday, May 19, 2013

Spring Trends 2013 plus Outfit Idea's


Hey Guys,

Ever wonder what's in fashion for 2013 without having to watch catwalk shows??....
In my Spring Trends video, I'll tell you everything you need to know about S/S 2013 
and even better I also have a video showing you 4 outfits I've put together keeping trends in mind
Sound good??!!! 
Check them out here!!!!


Love Always 
Saz xx

Sunday, April 28, 2013

Stepping into Spring O.O.T.D


**Outfit Details**
Tiger T-shirt: Forever21
Shorts: Oasis
Tights/Socks and Bag: primark
Boots: Forever21
Watch: Guess?!
Nails: Sally Hansen nail stickers


Have a nice Sunday!
love always
Saz xxx

Tuesday, April 9, 2013

Body shapes: The Hourglass


Hey Guys,

So the 4th video in my body shapes series is the Hourglass shape
Since Marlin Monroe and Kim Kardashian the hourglass has become the most desired body shape in all the land.... why??
because of its sexy curves in all the right places!!

The hourglass shapes is completely balanced.Your top and bottom half with be in proportion and you will have a defined waistline. 
Hourglasses do come in different sizes so if your thinking I don't have big boobs and a big butt so I'm not a hourglass.... your wrong!!

The key here is your shoulders, your shoulders and hips will be the same width and another tip you will take the same clothing size on both top and bottom!! 
If all else fails get out your measuring tape haha!! 

The key to dressing the hourglass is to encourage the eye to take in the whole shape rather than a certain area, So basically when you look at the person you wont look straight at their chest or straight to the hips you will find yourself looking up and down....... which is exactly what I found myself doing when I looked at Kelly's and Kim Ks outfits hehe!!


Check out my video on tips to dress for your fab shape!!
Also how gorgeous does Kim K look in blue! #WOWZA

love always 
Saz xxx

Monday, April 8, 2013

Body Shapes: The Apple/Rounded shape


Hey Guys,
So the next body shape is the Apple...


Apple body shapes carry most of there weight on their tummys now you may be very skinny elsewhere but you will carry excess weight around your tummy and no waist difinition and most apples tend to have wide shoulders and big busts.
Reminds me of a lollipop.... round on top and straight on the bottom.

This for me is the most interesting body shape because it can be completely transformed just by choosing the right clothing!!!!!


Is this you???
Find out how to dress your shape here....


love always
Saz xxxx

Body Shapes: The Rectangle/Ruler


Hey Guys, 
So body shape number two is the rectangle.

The rectangle body shape has little to no curves and no waist definition so straight away I know your thinking MODELS.
Yes most... not all models have this body shape, this can be a touchy subject but the reason why models have this body shape is because it's soooo easy to dress.


The key to dressing to rectangle shape is to give illusion of curves by creating curvature on top and button. 
How do you do that??......
Check out my video of course and I'll tell you everything you need to know about the rectangle body shape ;)
.

Enjoy
Love always
Saz xxx

Thursday, March 14, 2013

Body Shapes:The Triangle/Pear


Hello my lovely ladies (and lads if your reading :p) 
Today we are going to be talking about Body Shapes.
When I made the desicion to start a youtube channel I wanted my channel to be educational. I've learned so much from working in retail/styling for 7 years and being a beautician for 3 years so today I'm very excited to share my first video/blog post on Body shapes.

There's 6 different body shapes....
Hourglass
Triangle/Pear
Apple (Rounded)
Rectangle/Boyish frame
Wedge/Inverted Triangle
Diamond

Today we are going to talk about the Pear Shape
Pear Shapes carries most of their on their lower halves and have quite small and narrow shoulders.
The Pear shape can sometimes look very like the hourglass shape but pears will have small shoulders.


What you Pear ladies want to do is give the illusion of having that perfect hourglass shape that every woman desires by restoring balance to your shape by drawing attention away from your curves and up to your upper half.
Check out my video to find out what looks best on your body shape...


You share your shape with Jennifer love hewitt and Rihanna 


Love always
Saz xxxx


Saturday, August 27, 2011

Back to Basics: part 3 Every thing you need to know about face powder


Hey Girls,


So this is the 3rd part of my Back to basics series:
For part 1 How to use and apply concealer! click here  and for part 2: How to apply foundation and find the right shade for you! click here

What is face powder and why do we use it?
Powder is used to set your foundation ,give you a matte look and it helps your foundation last longer by absorbing the skins natural oils. It is a absolute must for oily skin!!!!!

Powder comes in 2 forms loose and pressed.


Loose powder works better because it has more oil absorbers than pressed powder but pressed powder is less messy and more convenient

Translucent powder is not invisible or colourless it is just loss opaque than other powders. It can appear very unnatural on the skin so it is best  for just setting heavily concealed area’s


What shade should I get?
When looking for a powder you should find one that matchs your foundation or if you want to warm up your skin use a powder with yellow undertones.

If you have bronze/ebony skin pick a powder with golden orange undertones to brighten the skin or if you’re darker choose a powder with warm brown undertones to warm the skin or you could also use a powder with a little shimmer in it to keep your skin looking fresh and dewy.


So how do I apply powder?
You can apply powder with

A fluffy brush: dip your brush into the powder, tab off the excess and brush all over the face.
you can use a smaller fluffy brush if you want to powder smaller area.


A powder puff:  press your puff into the powder and roll over the skin. This gives the best coverage!
also run a fluffy brush gently over the skin to remove any excess powder.


A sponge: works well in small area’s


Your fingertip works well for mature skins, trace finger underneath eyes to set powder and minimize fine lines

Check out my friend's You Tube video on powder......


Hope this was helpful!
Dont forget to follow me or like my page book page :) click here


                                     Got some exciting posts coming up and Dont forget
                                     to look for part 4: blush and bronzer!

                                                        love always
                                                        saz xxx

Monday, August 2, 2010

My top 5 foundations plus foundation tips :)

hey girlys,

hope everyone is enjoying the summer :)
thanks to all my new followers hope your enjoying my blog !!

For the past few months iv been trying and testing different foundations
so today i'll show you my top 5 foundations
but first i just wanted to share some information about foundations that I learned in college that you may not know and i also wanted to share my top foundation tips :)

Types of foundations

liquid foundations
light to medium coverage
theres oil free versions this is the best for oily skin
 if you have very oily skin i recommend using macs studio fix foundation its a foundation and powder all in one and absorbs the oil on your face!!!
Oil based foundations only suitable for those with extremely dry or wrinkled skin
  water based foundations can make skin look oily good for dry or combination skin


cream foundations
light to medium coverage
they are heavier than liquid foundation
great for dry skin
avoid if you have oily skin they can make your skin look more oily

cream to powder/powder to cream
medium coverage
good if you want heavy coverage
they can dry out your face

tinted moisturisers
little or no coverage
these are great if you want a little colour without wearing foundation
very natural
can make oily skin look more oily

mineral foundations
very light foundation with good coverage
lasts longer then most foundations
controls oil
waterproof
have natural spf

primers
primers are applied before your foundation
they act as a barrier protecting your skin from your foundation
they even out skin tone
helps make up stay on longer
and they absorb oil

shade level and base colour
shade level is how light or dark you want your foundation to be
base colour is the tone of the foundation eg beige, ivory,tan,nude
the best foundations are yellow based or have yellow under tones as this is the truest shade of foundation to human skin eg urban decay, NARS
you will notice some foundations have pink or orange under tones!

how do i know what shade is right for me??
test foundations on your jawline to find the perfect shade for you that matchs your skin
it should by invisible because foundation is like a canvas this is where contouring/bronzers come in
and by using a light foundation and a darker colour bronzer you will avoid looking blotchy when your make up starts to wear off.
if you have to go darker only darken by 1 or 2 shades you dont want to look orange or fake
you will need a different foundation shade for different seasons as your skin colour changes!

contouring/highlighting
to contour use a colour thats 2 shades darker that your skin eg bronzer
to highlight use a colour thats 2 shades lighter than your skin

we contour to add a shadow to face which creates dimension/ definition

to contour:

nose:
to slim nose
add colour on either side of nose
and highlight center of nose

cheekbones:
to enhance cheek bones suck in cheeks (make fish face)
apply bronzer under cheekbones up to temple
put blusher on top of cheek bones blending up to temples
blend it all in well :)
apply highlight on cheek bones

forehead:
if you have a wide forehead
apply bronzer to temples and blend
this will made head more rounded
and to center of forehead by hairline
tyra banks always does this :P

chin:
minimize double chin apply bronzer along jawline and blend down highlighting center of chin

My foundation tips
1.Pat concealer onto skin never rub or drag skin esp under your eyes this can cause pre mature aging

2.To make your foundation look amazing your skin underneath must be healthy so cleanse tone and moisturise twice a day!!!!!!!!!
3.leave your moisturiser dry for about 10mins before applying foundation greasy skin will make foundation slip and slide when applying and foundation will come off quickly
4.you can apply foundation with your finger tips make sure your hands are clean
5. sponges are great but soak up alot of product and carry bacteria if you use sponges wash after use
6.make sure you get the right shade foundation be testing it on your jawline if the colour disappears you have the right colour.
7.pay attention to your jawline and hairline girls orange lines aint pretty :P
8.apply powder afterwards to set foundation
9. when going out at night use a foundation without spf, spf reflects the light making your face look whiter than your body in pictures.
10. when appling liquid foundation using a flat foundation brush start from the centre of your face and work outwards and downwards for that flawless finish
11. use a face primer this will help your foundation last longer and will act as a barrier, preventing your foundation from clogging your pores causing breakouts and blackheads.
12. After you apply your foundation dap a damp sponge over your face to remove any excess foundation and prevent caking
13. and lastly remember LESS IS MORE :)

My top 5 foundations:

1. urban decays surreal skin mineral foundation, 
supernova


this is a loose powder
this foundation is amazing its the best foundation ive ever tried and i recommend it to everyone
its very light and easy to apply it barely feels like your wearing makeup and the coverage is great and it lasts all day!!!!
as always with urban decay the packaging is really cool
and its mineral foundation so its kind to your skin :)
it comes with a sponge but i use my powder brush instead so its a little messy but it doesnt stain your clothes woo :)
its 24 euro but its well worth the price
 and as you can see mines all gone :(
10 outa 10 urban decay well done :)


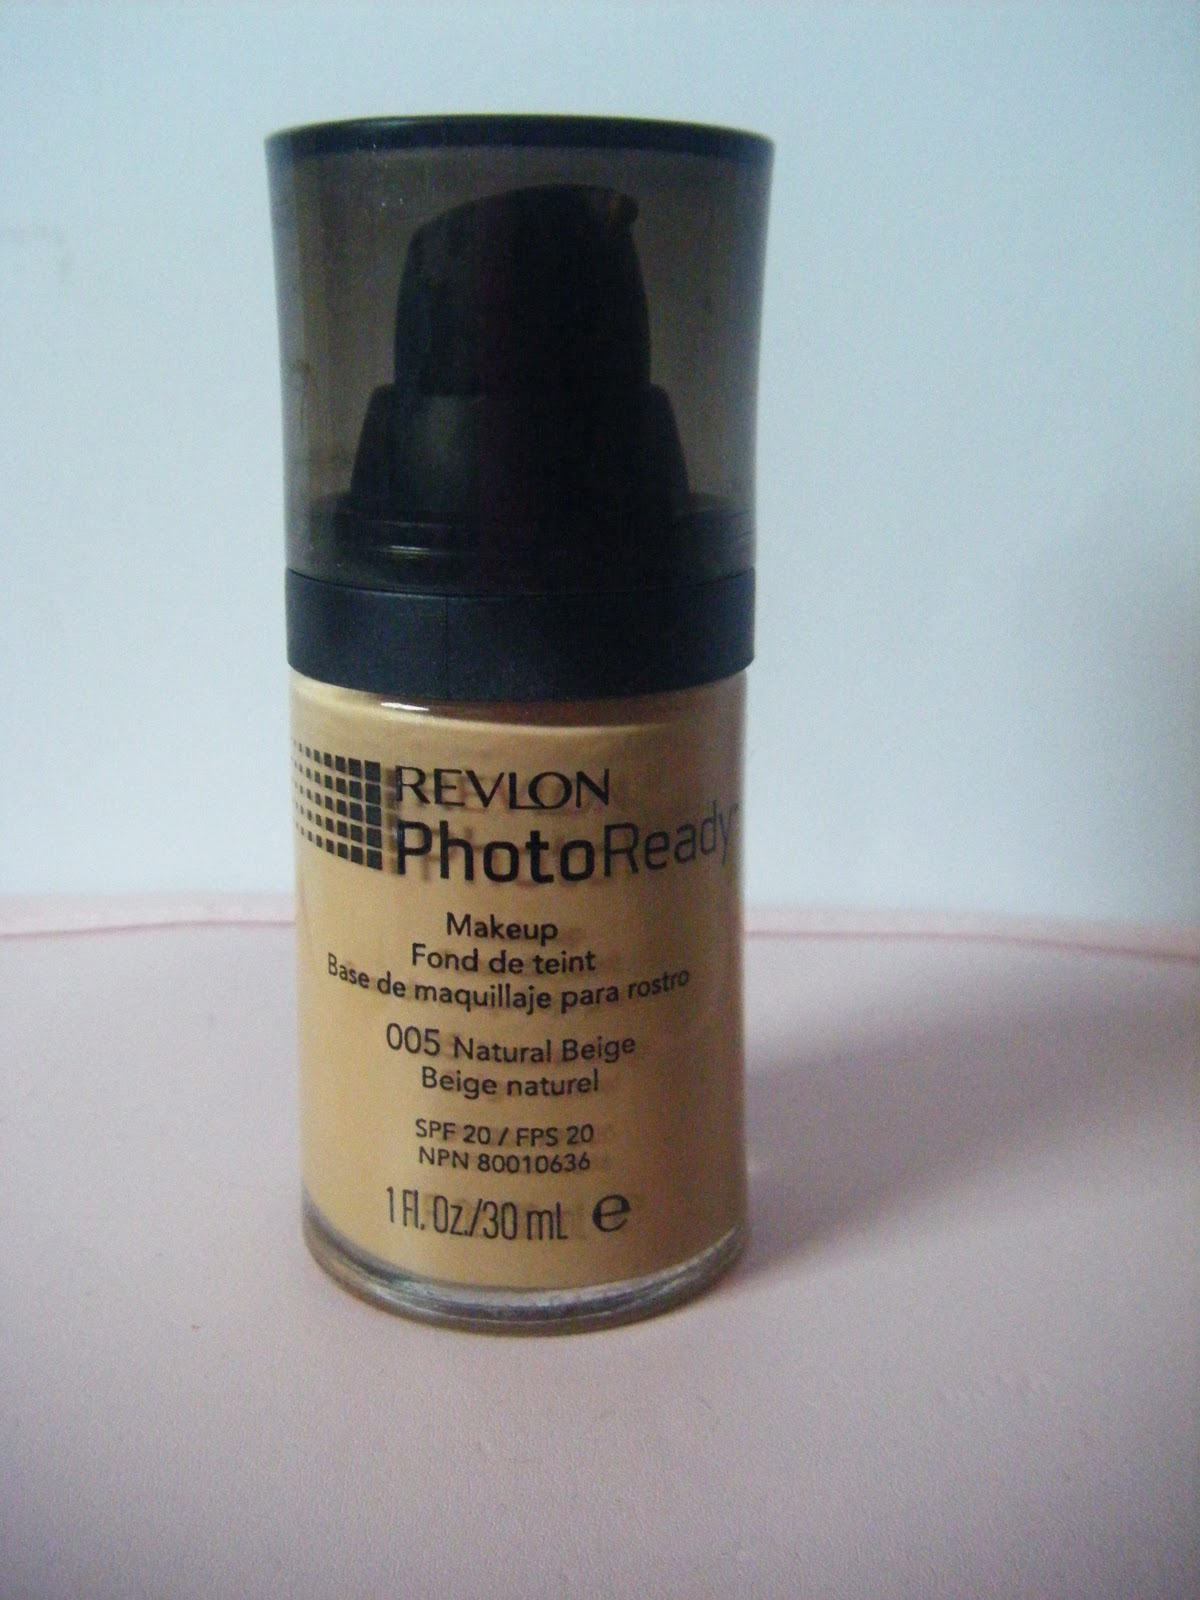
2. my second favourite is revlons photo ready liquid foundation in natural beige approx 15 euro
i love love love this foundation it gave me a nice dewy look and lasted for hours before i had to reapply
 the colour was perfect for me and it looks good in pictures :)
its oil free and fragrance free and has spf 20


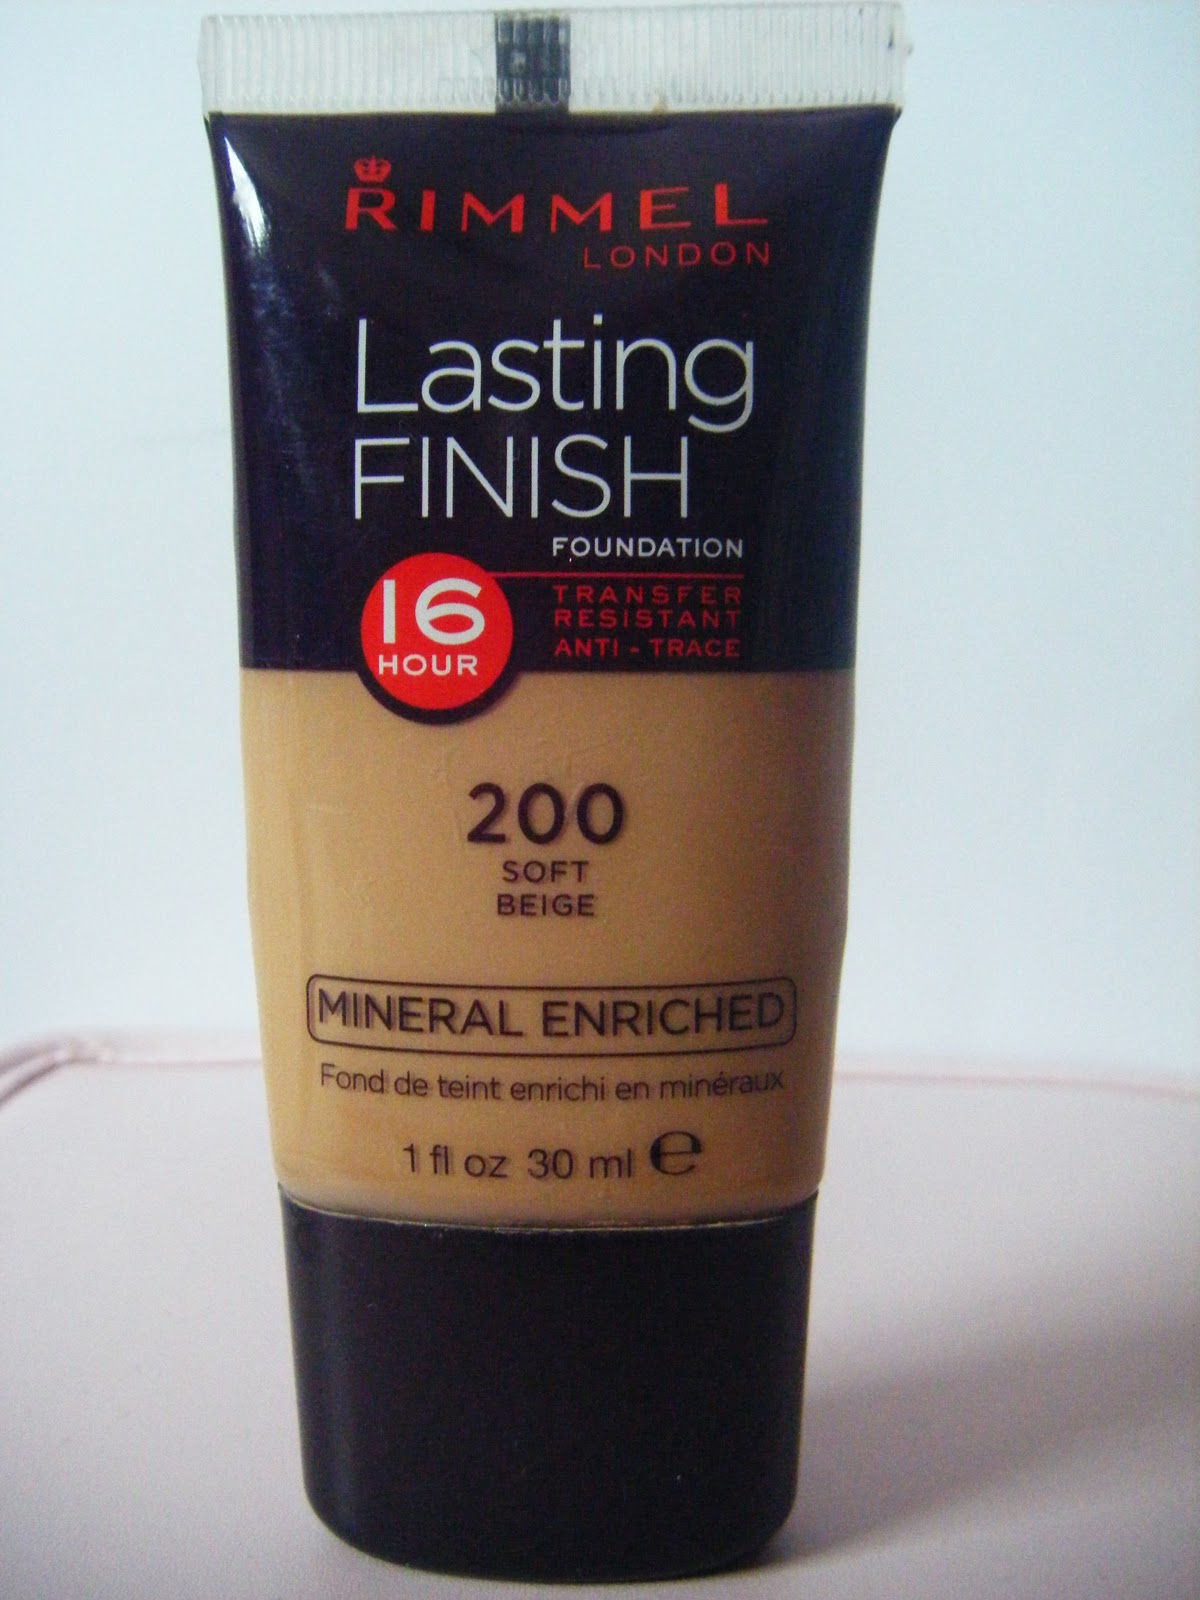
       3.  my next favourite was rimmels lasting finish foundation which is mineral enriched is it has a natural spf this product was quite cheap so i didnt expect it to be that good but it gave me a fresh dewy look but you do need to re apply this product every few hours but its a great product for 7euro defo recommend this when money is low hehe!!


 4. revlon colorstay normal/dry skin approx 17 euro
this colour was to light for me oops silly me!!! but i recently bought the right colour and im super impressed ive heard alot of good reviews about this product so i had to try it :) it lasted all day and the coverage was good enough for me, its oil free it has spf 15, and they do this foundation for different skin types woooo :) but the packaging kills this product it has no pump so you have to pour the product out its very annoying and very messy and you waste alot of product!!! Bad revlon!!!!!!


5.L'oreal paris true match liquid foundation approx 16 euro
 this product is very light and very easy to blend but this colour was to dark for me and didnt give me enough coverage and doesnt have any spf :( but it didnt feel like i was wearing foundation and it lasted most of the day before i had to reapply!


well guys thats it its been a very long post but i really hope ye enjoy this and hope it was helpful
dont forget to follow me :)
love
saz xxxxx